
Teaching Cake Decorating During Halloween
04 October 2022Turning a devilishly tricky topic into a tantalizing treat.
By Elise Chonko
Feedback & comments: This email address is being protected from spambots. You need JavaScript enabled to view it.
 Learning cake decorating can be scary. Students are haunted by cake crumbs creeping into their buttercream. They’re petrified when their zombie hands can’t handle the required dexterity. Bakers scream as their fillings ooze out. And boy, do they howl when everything goes wrong all at once. So, why not lean into the fear?
I teach cake decorating skills during the spooky season for a reason. No high school teacher has enough time in their curriculum to teach cake decorating to a mastery level the students expect after watching hours of Instagram and TikTok videos. But, the beauty of introducing cake decorating during Halloween is that all the most common beginner errors actually add character to Halloween motifs: the rips in fondant can be turned into bloody scars; elephant skin adds character to a rotting pumpkin, crumbs in your buttercream look like dirt in your graveyard, etc. This helps students build the confidence to want to learn more, instead of being frustrated by failure. I’m excited to share with you how I teach this unit, which is pretty robust as a whole (I teach Baking Level 2), but you can take parts and pieces of it to make your own Frankenstein unit.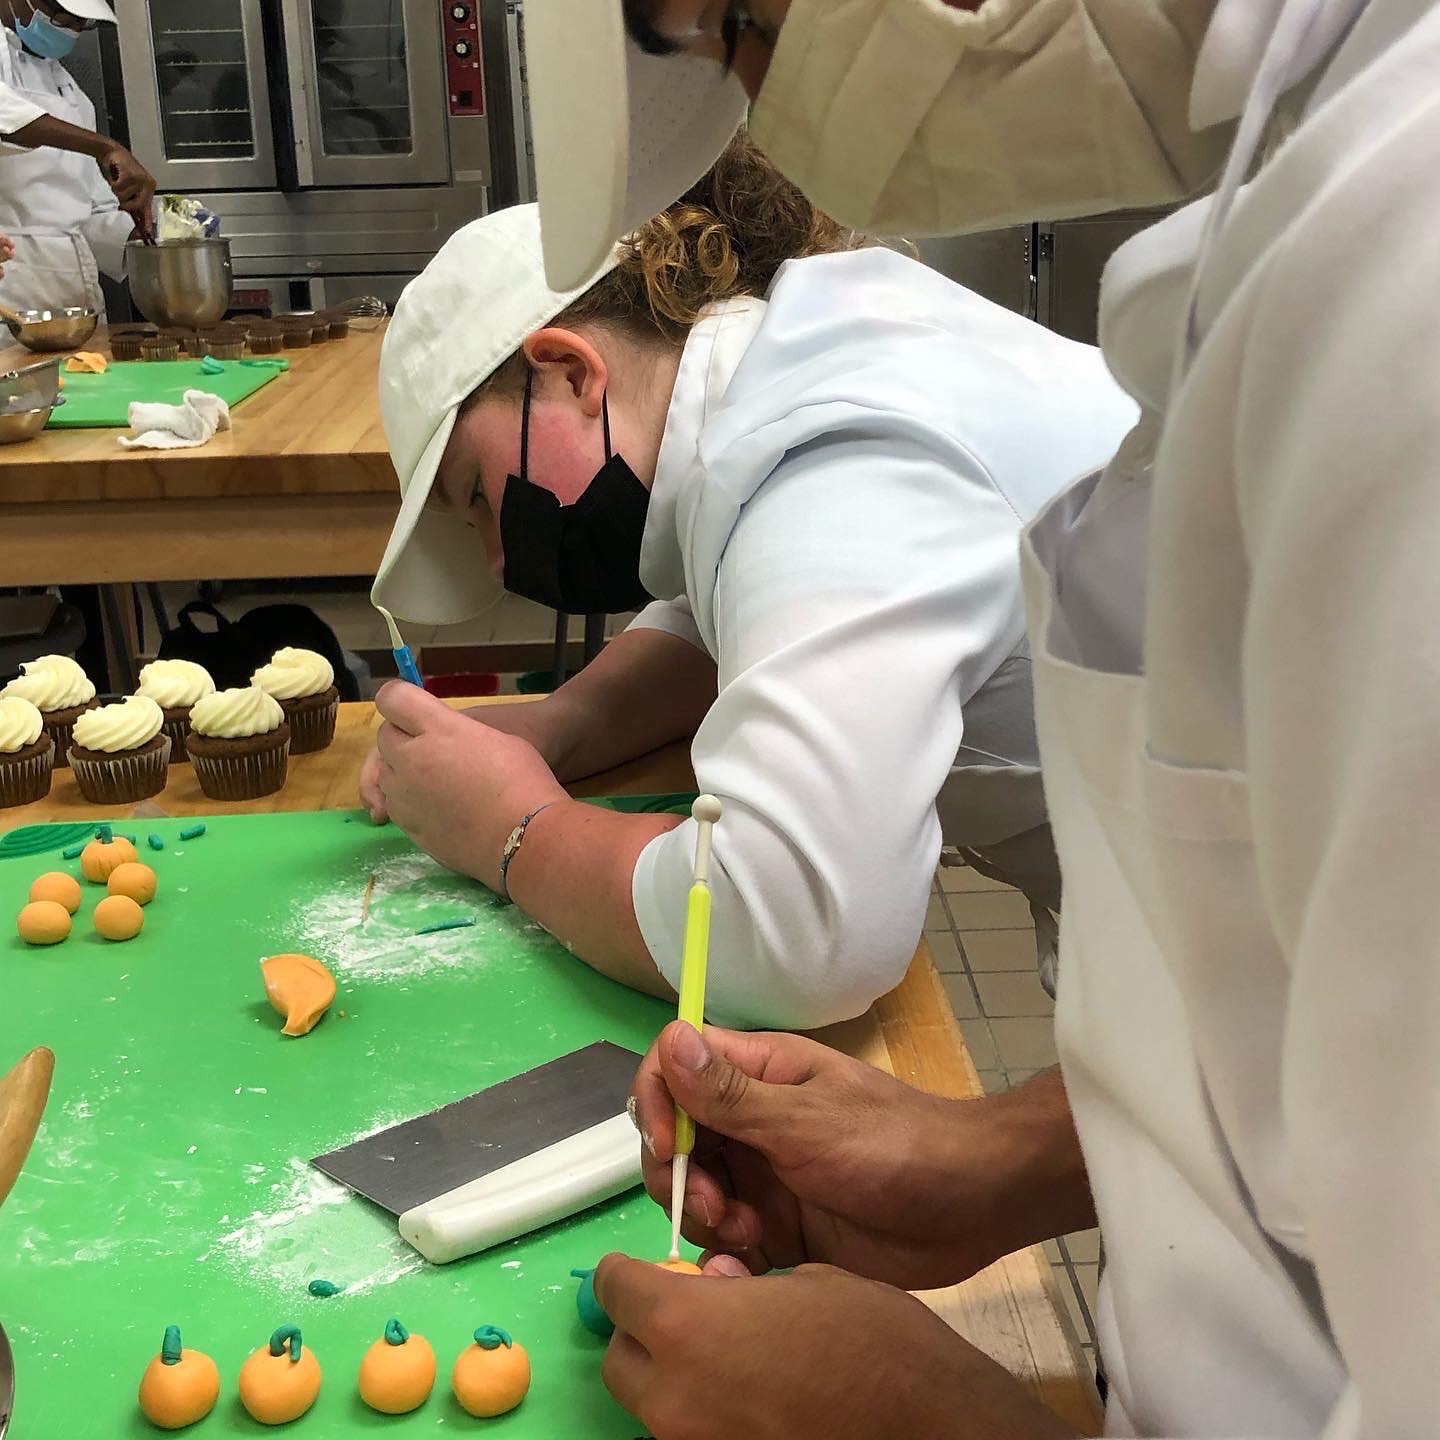
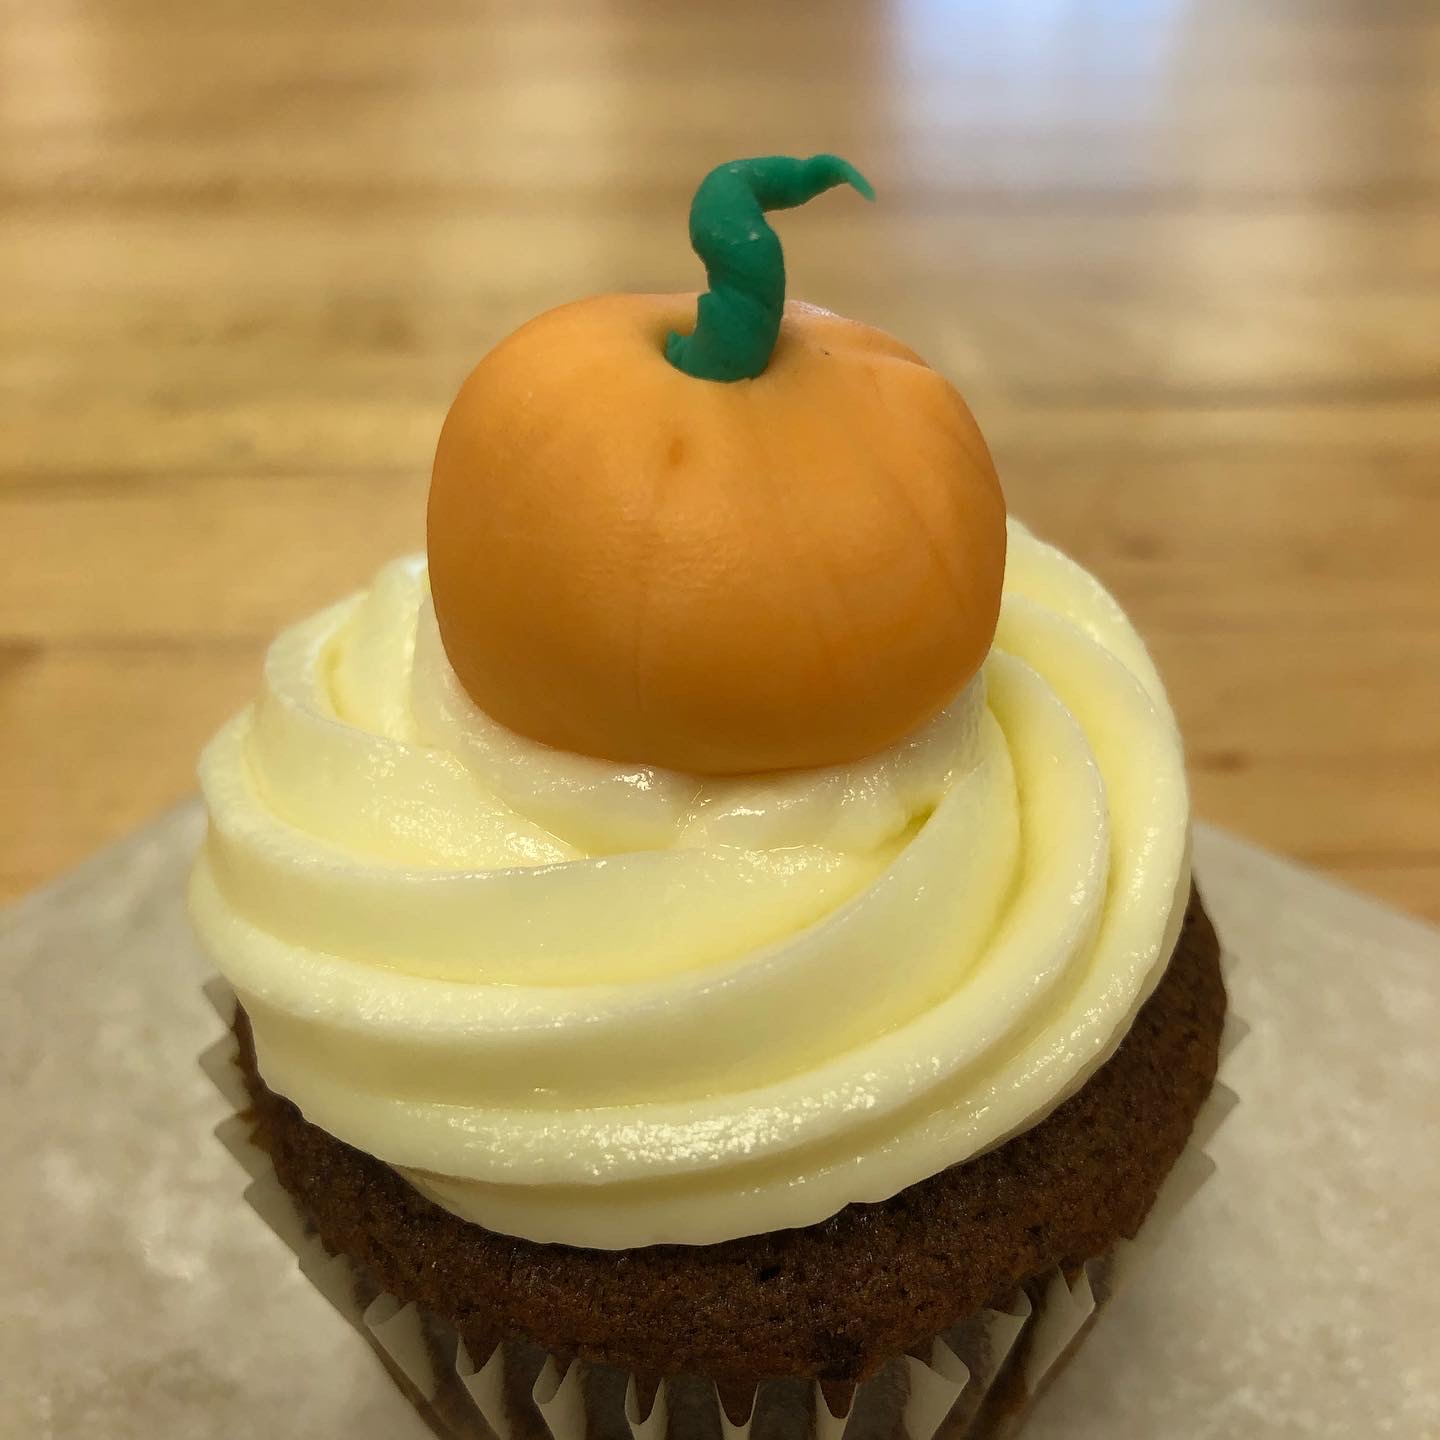
We start with pumpkin cupcakes topped with cream cheese icing. The cake decorating element is introduced when students create small modeled pumpkins (think pumpkin-shaped candy corn) from fondant to adorn some (not all, who has the time or budget?) of their cupcakes. This is their introduction to fondant handing and modeling tools. All you need for this is a Dresden tool, although a ball tool helps too. You can get a set of modeling tools on Amazon for less than $10 and can buy a set per group and have them share if needed. Most students have the dexterity to handle this task after a chef demo. Typically, I only help four or five students get it right. It’s a fantastic small step to help students build confidence with sculpting tools before we dive deeper into fondant techniques.
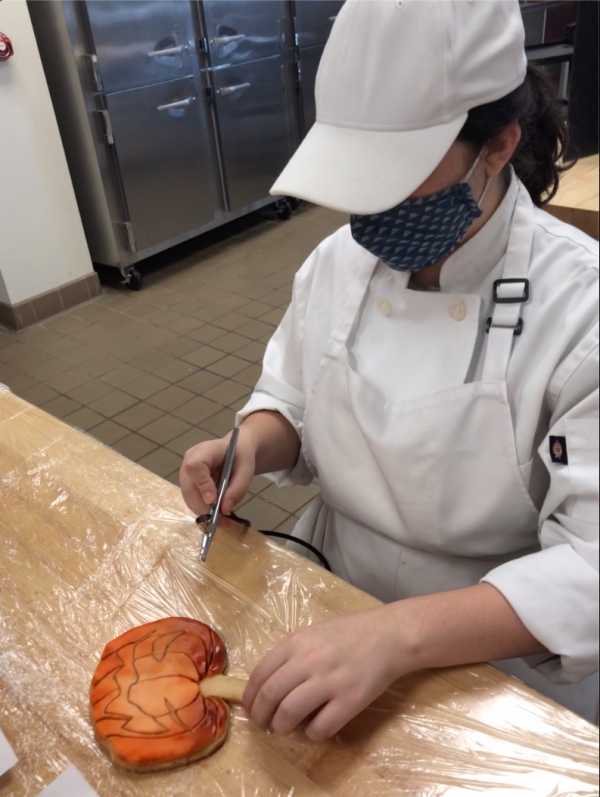
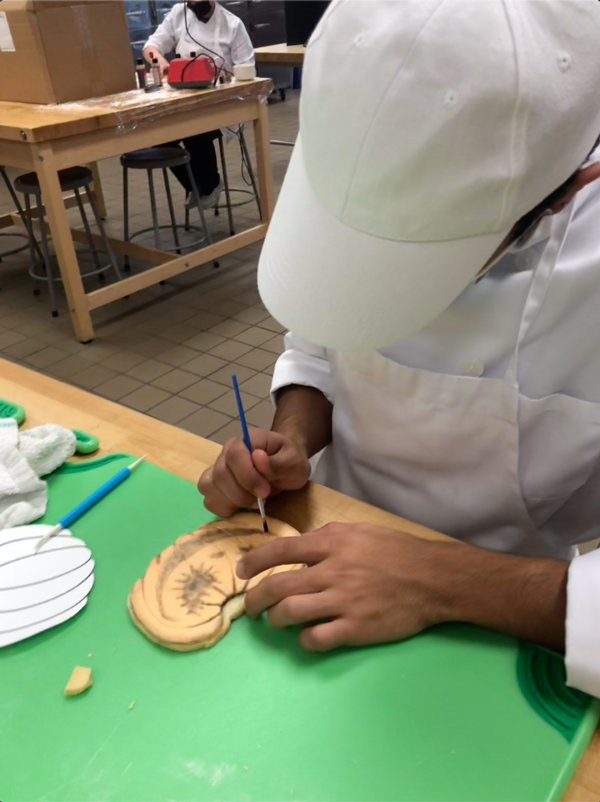
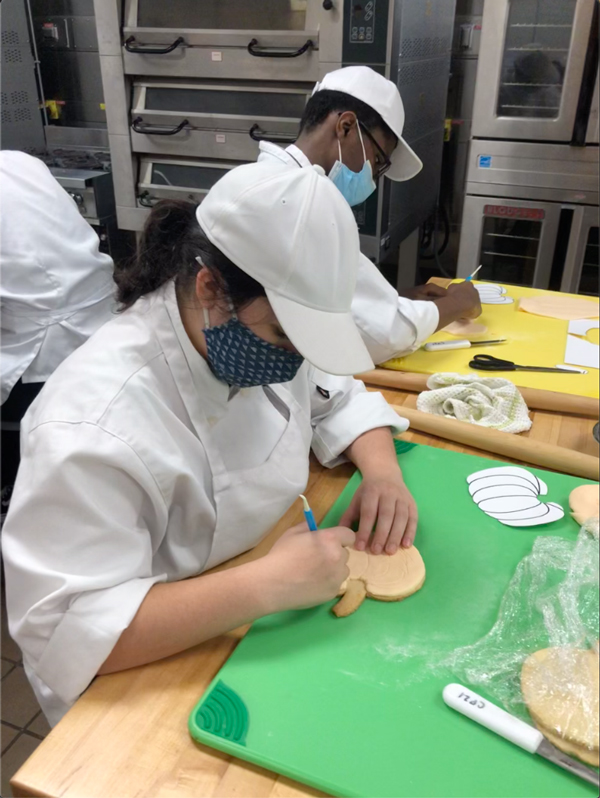 We build on those fondant skills with a Jack-o’-lantern fondant-covered cookie. We make a simple shortbread cookie cut in a pumpkin shape. Then we roll and cut out fondant in the same shape (or slightly smaller). This is glued to the cookie with a thin layer of corn syrup. With this, we use our fondant modeling tools and techniques to “Carve” indentions into our cookies to create faces, stems, and pumpkin grooves. We then highlight the marks with black and orange edible petal dusts to give dimension. To build even more dimension, we use the airbrush machine to highlight as needed. If the students made a mark they don’t love, it's ok, it adds dimension. Airbrush splatters? No worries, this gives the pumpkin some freaky freckles. Most errors they make will add to the overall final product.
I keep building on those techniques with the next project: carved Jack-o’-lantern cake. Students bake the cake on day one and carve it on day two. Again, a Jack-o’-lantern has more character if it has some asymmetry, so it doesn’t need to be perfect. The carving techniques are simple–take a printed stencil to cut the general shape. Some students will insist on making their templates, which is great. They carve any sharp corners to give it a more natural rounded shape. Next, they carve curved lines from the top to the bottom, again, to provide texture. We cover the cake with a thin layer of ganache and freeze.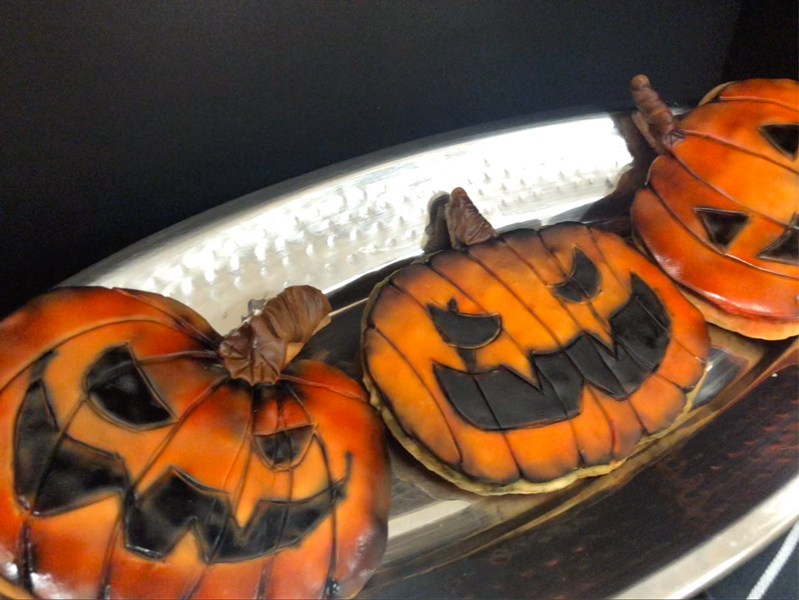
Day three sees the students cover the cake in fondant, pushing it gently into the lines. They then use the same techniques as the cookies to create the pumpkin face. We repeat the same process of adding edible petal dusts and airbrush colors to add dimension. Students who struggled the first time around get a second chance to hone their skills. Students who did well on the first task often find creative ways to enhance their design this time around. But just as before, most mistakes add character. Often students come up with clever “hacks” to cover up mistakes. My cake decorating chef in college always said, “Cake decorating is all about knowing how to cover mistakes,” so this offers a great opportunity for students to practice that skill.
The grand finale: Halloween Cupcake Wars! We begin the planning portion at the beginning of the unit and work on it throughout. Production days are always the week of Halloween to finalize the unit. This last part is my favorite!
I have a dramatic introduction to the project. I turn off the lights in my classroom, use my cell phone flashlight on my face to give ghost-story vibes, and recite my intro poem:
On all Hallow’s Eve, a war will begin.
A war only the bravest of souls could win.
Using the most harmless ingredients and tools,
the bakers will make creepy goblins and ghouls.
Better work fast, soon all time will be gone.
The competition will be fierce, so bring it on!
In one month’s time, your tensions will soar.
‘Cause we’re having a Halloween cupcake war!
 After all the applause (that I usually start) we get to work planning. Students work as a team to brainstorm flavors and decor. Students must turn in recipes, timelines, requisition and costing. This is well before the production date. As students plan, I circulate the room checking on their progress, offering suggestions, helping them think of problems they may encounter, etc.
To encourage creativity, I offer 10 extra credit points to their project if their cupcakes are original. I define “original” to them as this: If I Google search your cupcakes – for example ghost cupcakes – and don’t see any images that look like your cupcakes, you will get those points. This has led to some incredible ideas, including last year’s winners who made a giant shortbread spider that covered all their cupcakes, a massive shortbread headstone, and spun sugar cobwebs.
Students have two days to produce their Halloween cupcakes. On the final day, I invite judges to critique their work, typically this has been administrators. (I try and show off my students’ work.) This year I’m hoping to add a couple of industry chefs as well. Production days are a time full of creativity, chaos, failure, redemption and amazing teamwork. This project teaches many soft skills in addition to hands-on skills.
I can’t think of a better theme than the grungy look of Halloween baked goods to help my students build confidence in their cake decorating skills. As you teach these lessons, just continue to reassure your students that mistakes are totally ok. I even make mistakes in my demos to purposefully show how their mistakes will be ok in the end. I hope you trick or treat your students to a Halloween cake decorating lesson!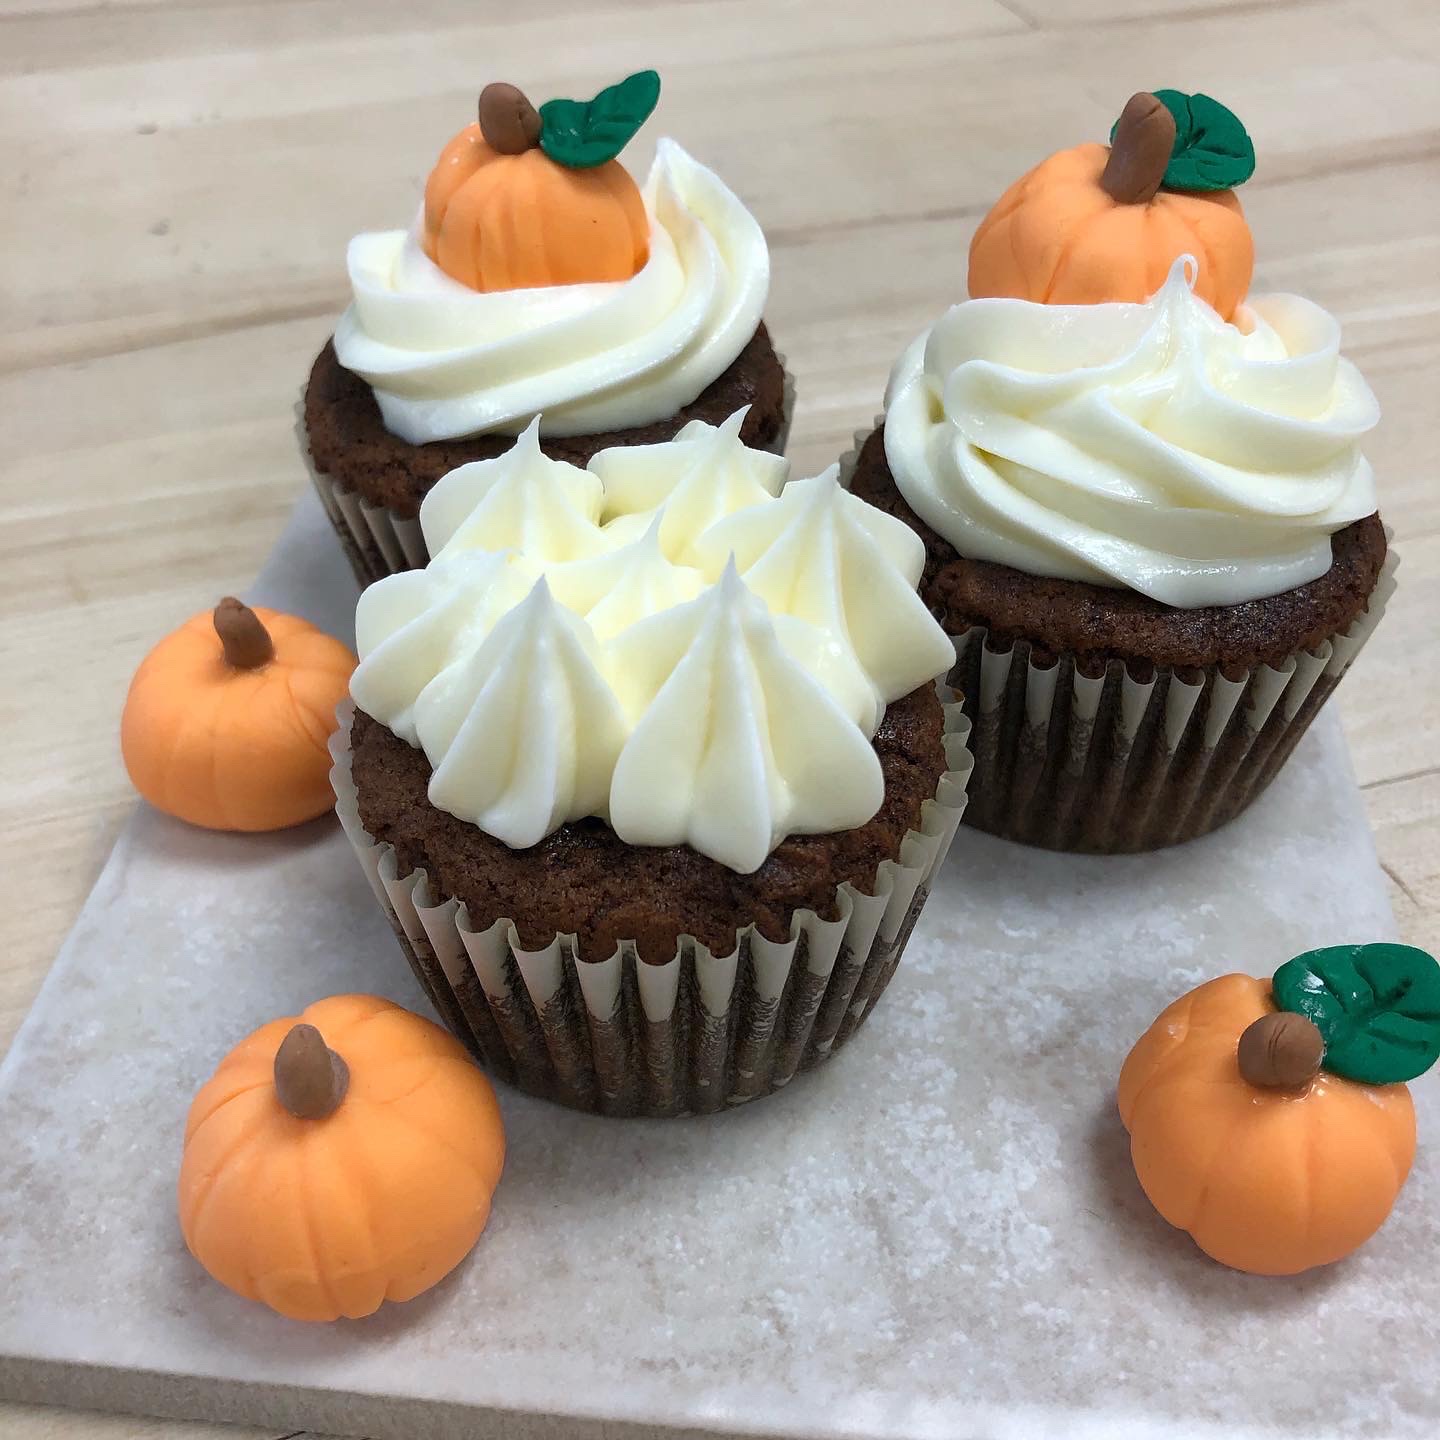
Scared that you don’t have the skills to teach these lessons? Here are some resources to help rid you of that fright:
Pumpkin Cupcakes
How to sculpt fondant pumpkin cupcake toppers
Pumpkin Spice Latte Cupcakes
Jack-o’-lantern Cookies
2 Day Outline
I couldn’t find a great video for this one, but here is a video that gives you an introduction to modeling tools. You can use this as you plan how to sculpt the Jack-o’-lantern’s face.
Jack-o’-lantern Cake
Pumpkin Half Sheet Recipe
3 Day Outline
How to sculpt and airbrush a pumpkin cake (This is a 3D cake, but it gives a lesson on how to sculpt the curves, cover in fondant and airbrush. We do 2D cakes, which are less expensive and easier. To do this, we bake a half sheet of cake, and make a flat version. If we have time, leftover cake is combined with leftover ganache to make cake truffles).
Halloween Cupcake Wars
Project Instructions
Requisition Template
Elise Chonko is a baking and pastry arts instructor at the Chesterfield Career and Technical Center in Midlothian, Va. She is also the national 2021 Sysco Corporation Secondary Educator of the Year award recipient.